Treating, staining and maintaining timber fences
Pressure treatment protects the wood; stains and paints protect its looks. Knowing which does what saves money and makes a fence last.
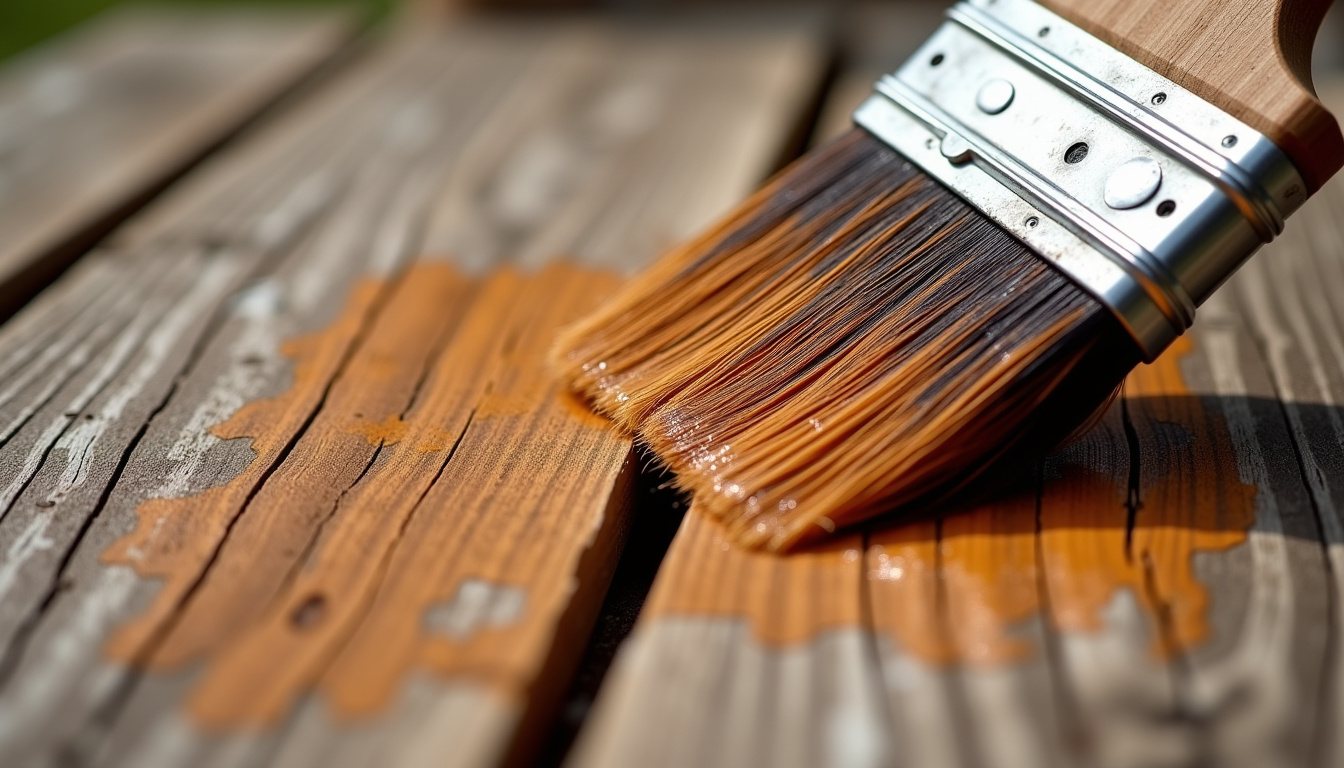
Fence timber in the UK has a hard life: wet winters, frequent wetting and drying, and soil splashed against the bottom few centimetres. Treatment and finishing are about slowing down the damage that water and fungi do. This guide separates the two jobs that are often confused: preserving the wood and decorating it.
Use classes: UC3 and UC4
Preservative treatment for timber is specified by "use class", defined in the British and European standard BS EN 335. The use class describes the conditions the timber will face, and a treater applies enough preservative to suit that class. For fencing, two classes matter:
| Use class | Conditions | Fencing examples |
|---|---|---|
| UC3 (often split into UC3.1 coated and UC3.2 uncoated) | Outdoors, above ground, exposed to weather | Fence boards, panels, rails, trellis, capping |
| UC4 | In contact with the ground or fresh water | Posts, gravel boards, stumps, anything buried or touching soil |
A very common failure is posts or gravel boards treated only for above-ground use being buried. They rot much sooner than UC4 timber would. When buying, check the supplier's description for the use class rather than relying on a green or brown colour, which only indicates that some treatment with a dyed preservative has been applied. The Wood Protection Association, the UK industry body for treated timber, publishes guidance on specifying treated timber.
Pressure treatment vs brush-on preservatives
Pressure (vacuum-pressure) treatment drives preservative into the timber in a sealed cylinder. It penetrates far deeper than anything you can apply with a brush. Brush-on and spray preservatives are useful for treating cut ends and drill holes and for topping up older untreated timber, but they cannot turn a UC3 post into a UC4 post. Dipped timber, sometimes sold for cheaper panels, also has a much thinner protective layer than pressure-treated timber.
Every cut exposes untreated wood inside the section. Brush an end-grain preservative onto cut ends, notches and holes before fitting, and pay particular attention to the bottom of posts and the tops of cut boards.
Stains, paints and oils
Once the timber is treated, finishes are mainly about appearance and water shedding.
- Water-based fence stains and paints are the mainstream choice. They are easy to apply, dry quickly and come in many colours. Some are designed for rough-sawn timber only.
- Solvent-based stains soak deeper but have stronger odour and take longer to dry. They are less common now.
- Oils suit planed, slatted and hardwood fences. They enrich colour and repel water but usually need more frequent re-application.
- Opaque paints give strong colour and hide variations, but once you paint a fence you are committed to repainting.
Read the product label for the timber type it suits, coverage per litre and re-coating interval. Products, ingredients and claims change, so we do not recommend specific brands.
When to treat new timber
Pressure-treated timber is often still damp when delivered. Many finishes specify that timber must be dry, and some suppliers suggest leaving fresh treated timber to weather for a period before applying a coloured stain, while others say you can coat it once it is dry to the touch. Follow the finish manufacturer's instructions.
Applying a fence finish
- Check the forecast. Most products need a dry spell and a minimum temperature during application and curing.
- Clean the fence. Brush off dirt, cobwebs and algae with a stiff brush. A patio cleaner or diluted fungicidal wash helps on green fences, rinsed off and left to dry.
- Protect plants and the neighbour's side. Cover plants with sheets and agree with your neighbour before you treat or paint their face of the fence, which they may want left alone.
- Work top to bottom, in sections. Brush along the grain and keep a wet edge to avoid patchy lap marks. Sprayers are quicker but need careful masking and calm weather.
- Do the end grain and bottom edge properly. These soak up water and rot first.
A simple yearly routine
- Autumn: clear leaves and soil from the base, check post stability before winter storms, re-tighten clips.
- Late winter: inspect after storms; replace any split boards or failed panels. See repairing storm damage.
- Spring: wash off algae, trim climbers away from boards.
- Early summer: re-coat stain or paint where it has faded, during a dry spell.
Plants, climbers and fences
Climbers soften a fence but hold moisture against it and add weight. Fix climbers to wires or trellis held a few centimetres off the boards so air can circulate. Do not let ivy grow into the boards; it prises them apart and makes painting impossible. Keep beds and mulch below the top of the gravel board.
Common problems and what they mean
| Problem | Likely cause | What to do |
|---|---|---|
| Green film on boards | Algae in damp, shaded spots | Scrub and wash, improve airflow, re-coat when dry |
| Soft, crumbly wood at the base | Fungal decay from soil contact | Replace affected boards or gravel board; keep soil away |
| Fine splits along boards | Normal drying and weathering | Usually cosmetic; replace if they widen through |
| Patchy colour after staining | Uneven timber, lap marks or rain too soon | Apply a further coat in dry weather, keeping a wet edge |
| Peeling paint | Painted over damp or dirty wood, or incompatible product | Brush off loose material; use a product suited to the existing finish |
| Black marks around fixings | Reaction between plain steel and timber | Use galvanised or stainless fixings |
Fresh pressure-treated timber sometimes shows small salt-like deposits or a green tinge that fades as it weathers. This is normal and not a sign of a fault.
Hardwood, cedar and larch
Some fences use durable timbers such as oak, larch or western red cedar, which can be used untreated above ground and left to weather silver. Their natural durability varies by species and by the proportion of heartwood. Sapwood is far less durable. Posts in the ground should still be either UC4 treated or a timber with high natural durability in ground contact.
For more on choosing the right fence for your site, see fence types compared and concrete vs timber posts.