How to install fence panels step by step
Fitting panels is a realistic weekend job for two people with basic tools. The difference between a fence that stays straight for years and one that leans by spring is mostly in the setting out and the posts.
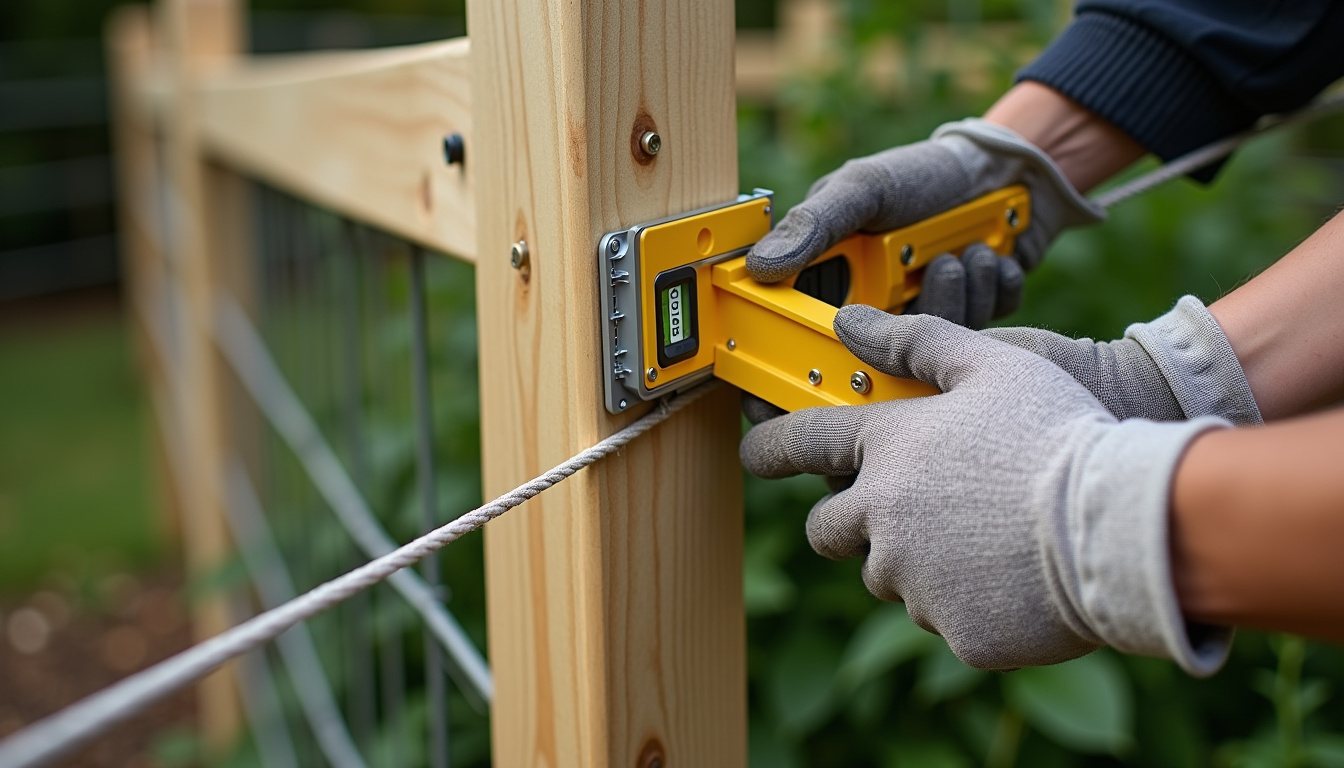
This guide describes a typical 1.8 m panel fence on slotted concrete or timber posts. The same principles apply to lower fences. It assumes you have checked who owns the boundary and the planning height limits before ordering anything.
Before digging, check for buried services. Gas, water, electricity and telecoms can run close to garden boundaries, especially near the front of a house. If in any doubt, dig the first few centimetres by hand and stop if you hit warning tape, ducting or anything unexpected.
What you will need
- Panels, posts (with caps for timber), gravel boards and fixings: clips or brackets for timber posts.
- Post mix or ballast and cement, plus gravel for drainage at the base of each hole.
- Spade, post-hole spade or auger, and a digging bar for stony ground.
- Spirit level (a post level is handy), string line, pegs, tape measure.
- Saw, drill/driver, galvanised or stainless screws, and preservative for any cut ends.
- Gloves, eye protection and a second pair of hands.
1. Measure and plan the run
Measure the full length of the boundary. Standard panels are 1.83 m wide, and posts add their own width (about 100 mm for concrete). Divide the run into bays and work out how much of the last panel you will need to cut. If it would leave a narrow sliver, adjust the start point so cut panels are equal at both ends, or put the cut panel somewhere it is less visible.
Count posts carefully: it is one more than the number of panels. Order a spare panel if you have to cut one, and add a little extra post mix.
2. Clear the line and remove the old fence
Take down old panels and break out old post footings. Old concrete lumps are the biggest time sink of the job, so if they sit exactly where the new posts need to go, consider shifting the whole line slightly onto your side instead. Clear vegetation along a strip about 600 mm wide.
3. Set a string line
Drive pegs at each end of the run and stretch a string line taut between them, just off the face of where the posts will be. Every post should align with this line. On long runs, check the line does not sag in the middle.
4. Dig the first hole and set the first post
Dig a hole about 600 mm deep and roughly three times the post's width. Put about 100 mm of gravel in the bottom. Stand the post in, check it against the string line and make it plumb on two adjacent faces. Brace it with timber battens screwed or clamped to pegs, then fill around it with post mix or concrete. Slope the top so water runs away from the post.
5. Fit the gravel board and first panel
With concrete posts, slide the gravel board into the slot first, then the panel above it. With timber posts, fix the gravel board on clips or to a short stump, then fix panel clips or brackets to the post and screw the panel to them. Check the panel is level along the top.
Leave a few millimetres of play in slots for the timber to move. Too tight and panels can bow as they swell in winter.
6. Set the next post against the panel
Dig the next hole. Offer up the second post tight to the panel end (or slot it over the panel if using concrete posts), check it is plumb and on the line, brace it and fill. Working bay by bay like this means the spacing is set by the panel, not by your tape measure, which avoids the classic problem of a gap that is two centimetres too wide for the last panel.
7. Repeat along the run
Keep checking level, plumb and line at every post. Small errors compound, and a fence that drifts by a few millimetres per bay can be noticeably out by the end of a long garden.
8. Cut and fit the last panel
To shorten a lap panel, remove the end batten, mark the new width, refix the batten at that point and saw off the excess. Treat cut ends with a brush-on preservative, as cutting exposes untreated wood inside.
9. Finish off
Fit post caps on timber posts to shed water from the end grain. Re-tension any clips. Once the concrete has cured, remove bracing. Clean tools before cement hardens on them.
Dealing with slopes
Panels must be set level, so on sloping ground they are stepped. Decide the step height (the fall over one bay) and use gravel boards to close the triangular gap underneath. Cut concrete or timber gravel boards to follow the ground, or use a deeper board. Remember the overall height on the uphill side of each step: a 1.8 m panel plus a deep gravel board can push the total over 2 m.
For long, steep slopes, a closeboard fence built on site can follow the gradient with raked rails, which often looks better than steps.
Mistakes to avoid
| Mistake | What happens | How to avoid it |
|---|---|---|
| Shallow posts | Fence leans after the first storm | Bury about a quarter of the post length, more on exposed sites |
| Above-ground (UC3) timber in the ground | Posts rot early | Use UC4-treated posts and gravel boards |
| Panel touching soil | Bottom rail rots | Always use a gravel board |
| Setting all posts first for panels | Gaps do not match panel widths | Work bay by bay |
| Ignoring cut ends | Rot starts at cuts | Treat every cut with preservative |
When to get a professional in
Consider paying for installation if the run is long, ground is very stony or full of old concrete, the fence will retain soil, or the site is exposed enough that the design needs more thought. Get two or three written quotes that say exactly what is included: removal of the old fence, post type and depth, gravel boards and disposal. Our costs guide gives rough 2026 ranges.
Afterwards, see treating and staining timber fences for how to keep the new fence in good condition.